
When we first bought our home the previous owners left behind a little garden shed with two small garden beds in front that held tomato plants. Each bed was outlined with simple 4×4 boards. Every year since that first tomato harvest I have dreamed of building raised garden beds and expanding our little vegetable patch. So this year we decided to actually make it happen! In our effort to eat more organically I wanted to make sure that we were raising our own vegetables in as natural and healthy a manner as possible. To create our raised beds we used cedar boards and followed this amazing tutorial at Build.com.
Before we got to work building the raised beds our first step was to plan out where exactly the garden would be and cover the ground with weed blocking cloth.

This was simply to make general maintenance throughout the year easier. The endgame is to create stone paths so there will be no weeding or mowing needed in between the beds.
We adjusted some of the materials and measurements listed in the tutorial to accommodate the size beds we wanted to build. Once we had our measurements in hand it was time to track down the proper material.
This may have actually been the most challenging step. None of our local merchants stocked cedar (which we chose due to it being naturally rot resistant so there would be no unnecessary chemicals leaching into the soil). We had the option of special ordering what we needed or for half the price we could drive about an hour away and get everything we needed from Home Depot. Guess which we chose…

I have to say that I do not usually shop at Home Depot, but the gentleman that assisted us was so friendly and helpful! It really made the experience go smoothly, especially when trying to figure out exactly how many of which size board would allow us the least waste. And they precut everything for us so there was no at home cutting necessary!
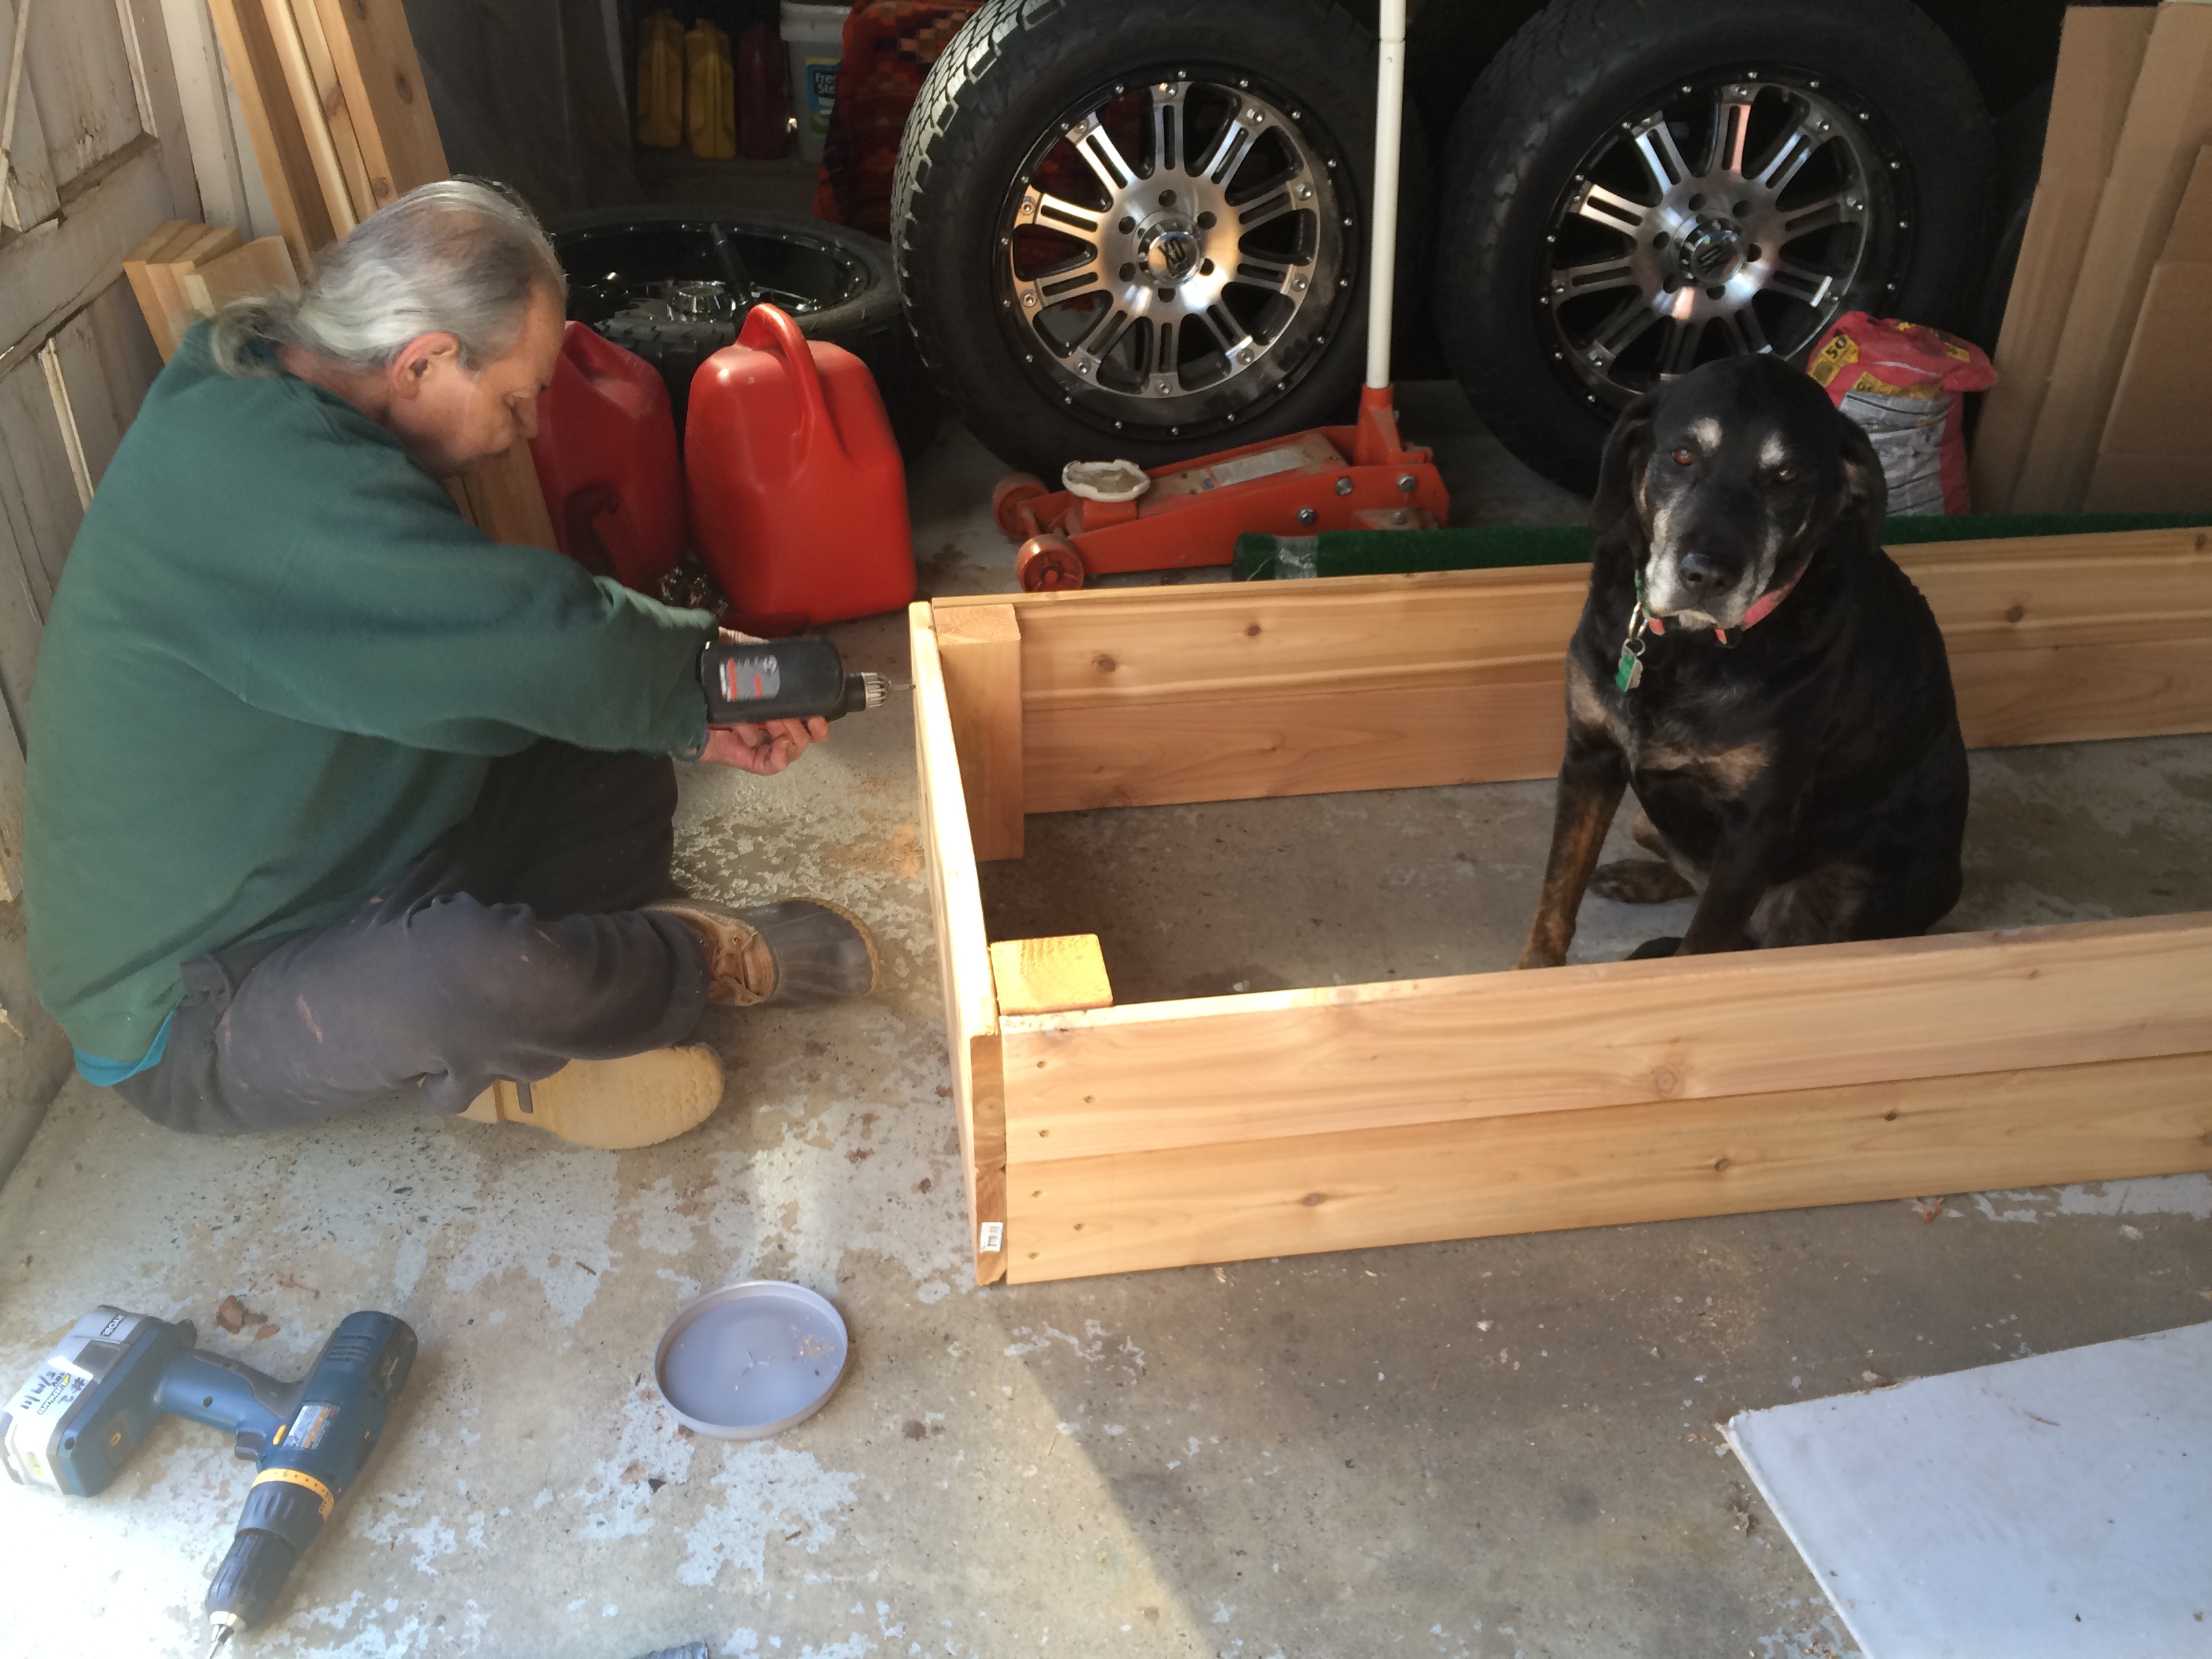
I also highly recommend having a buddy to help with assembly. This tutorial was definitely easy enough for any avid DIY-er to complete on their own, but I like to take advantage of these opportunities to spend quality time with my Dad (and learn from him in the process)!
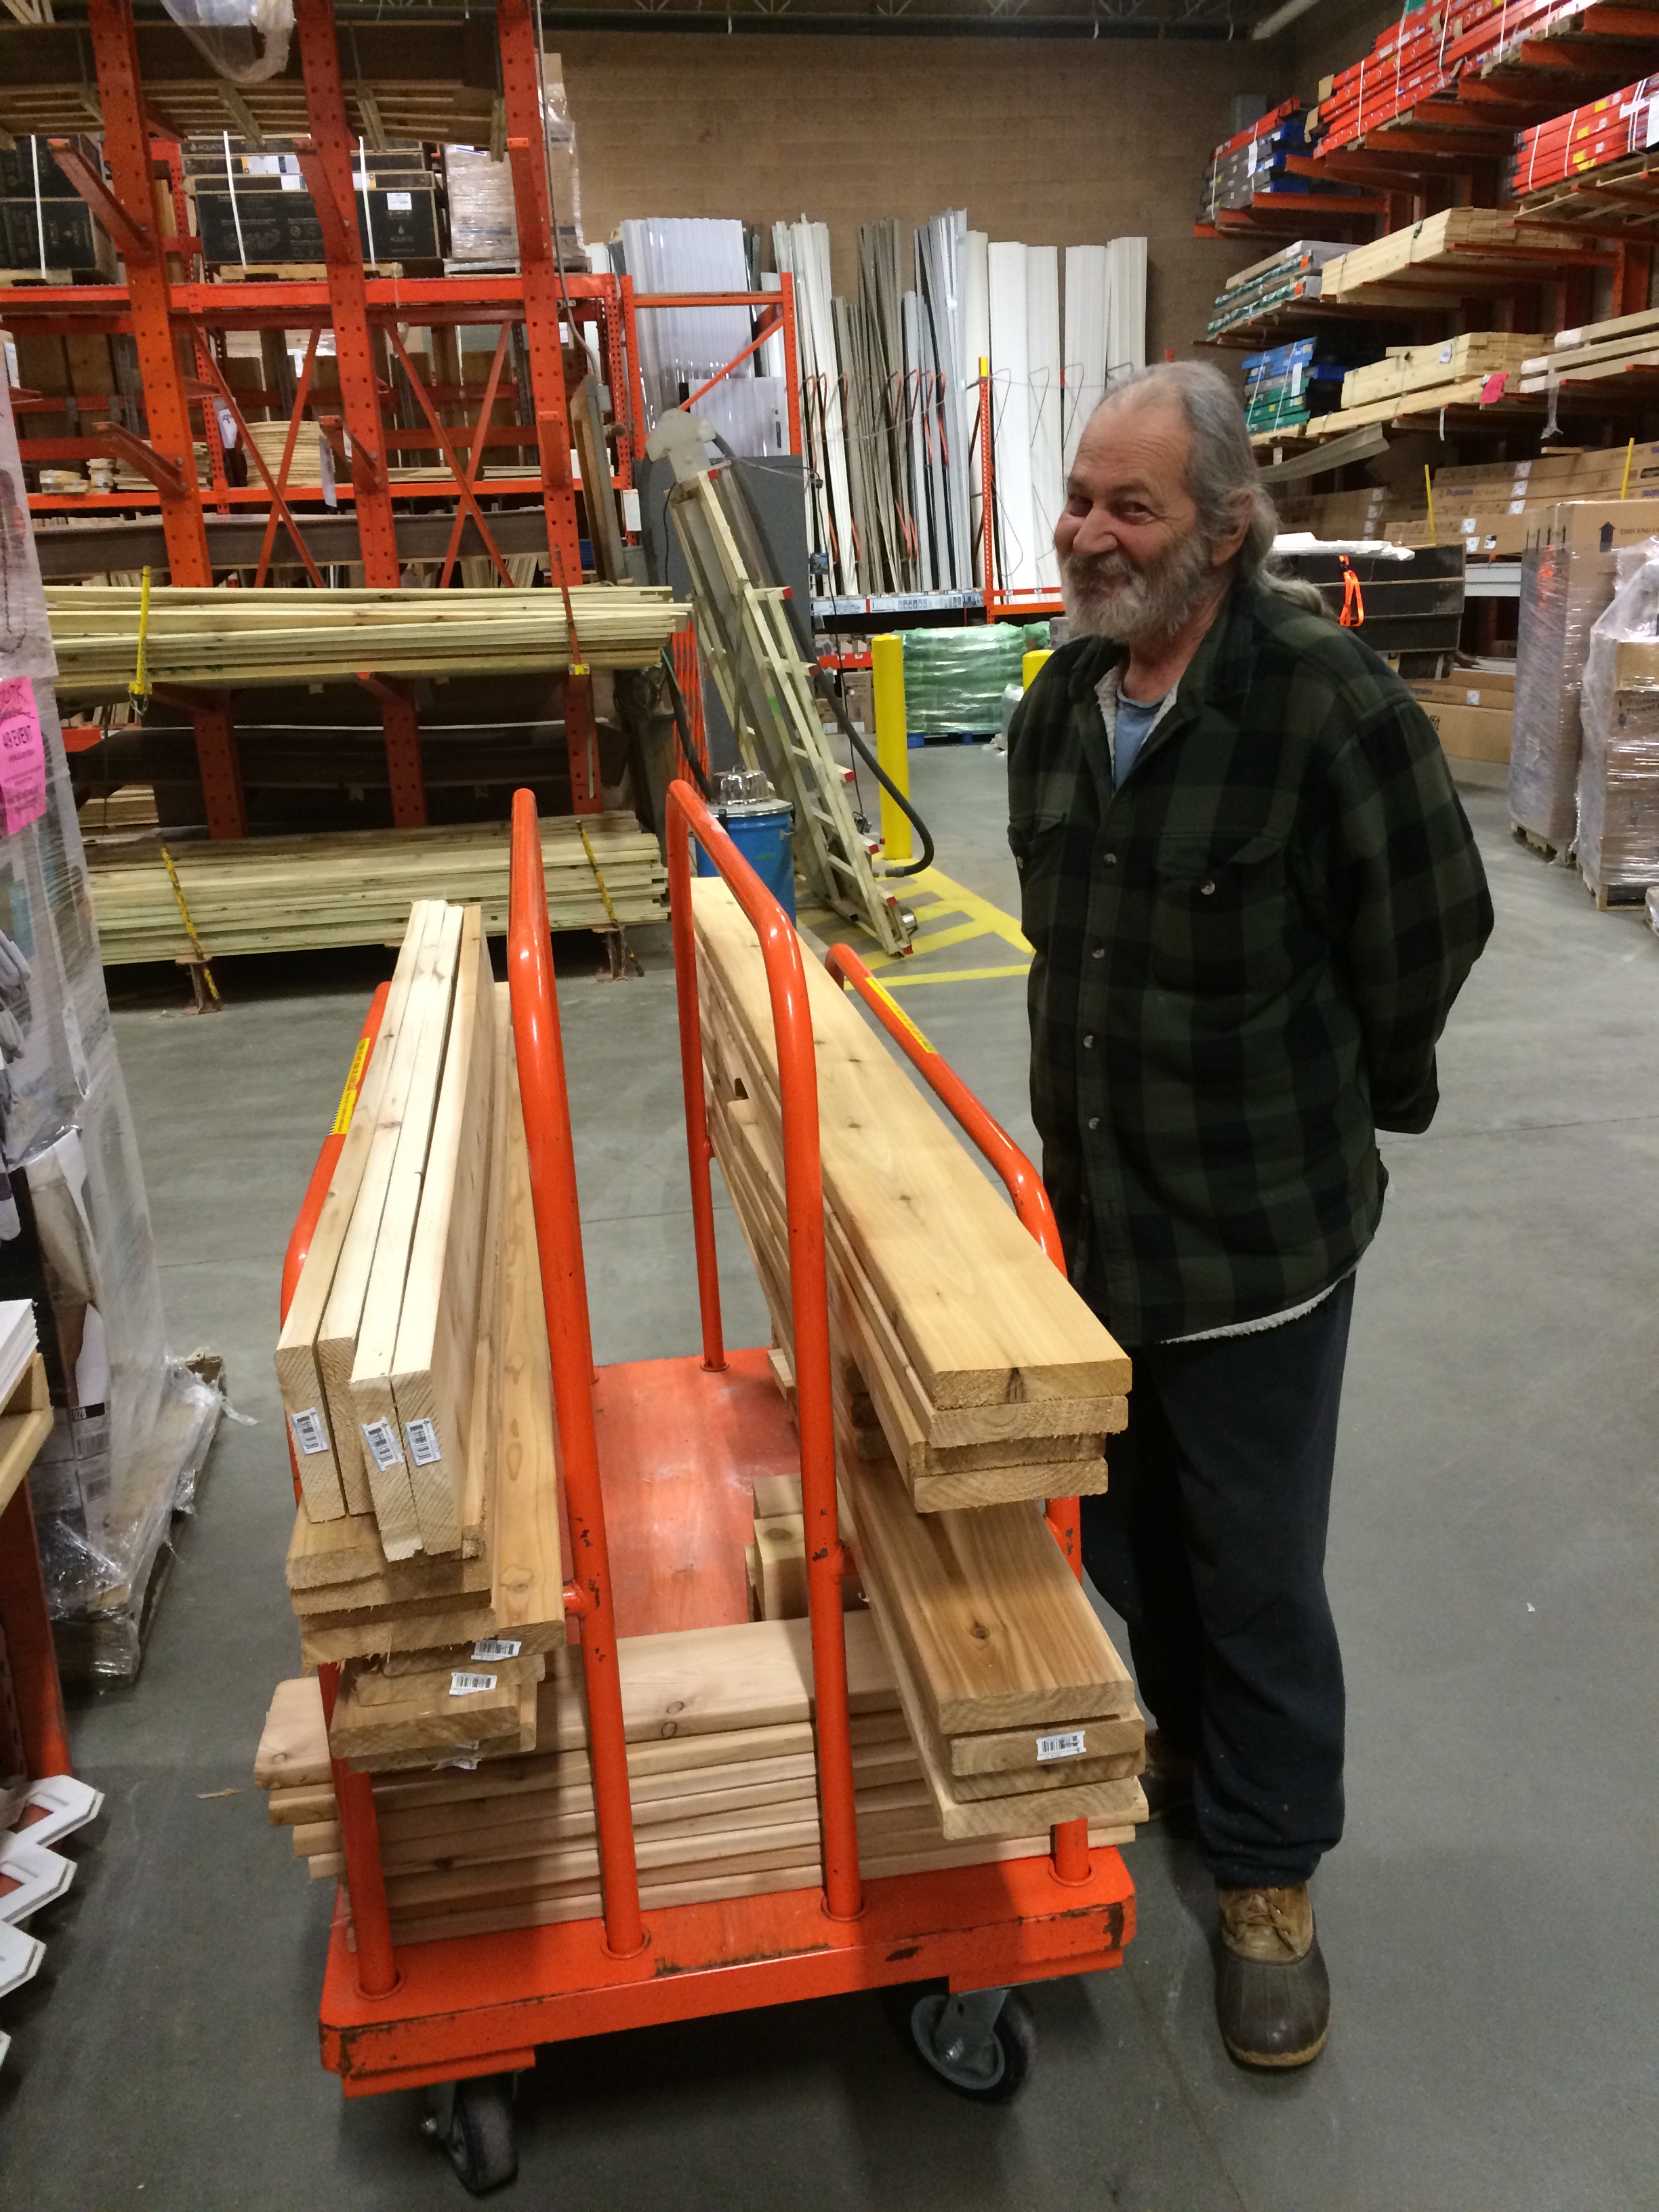
He also made a good, although reluctant, model so you could see the steps we took to complete our project.
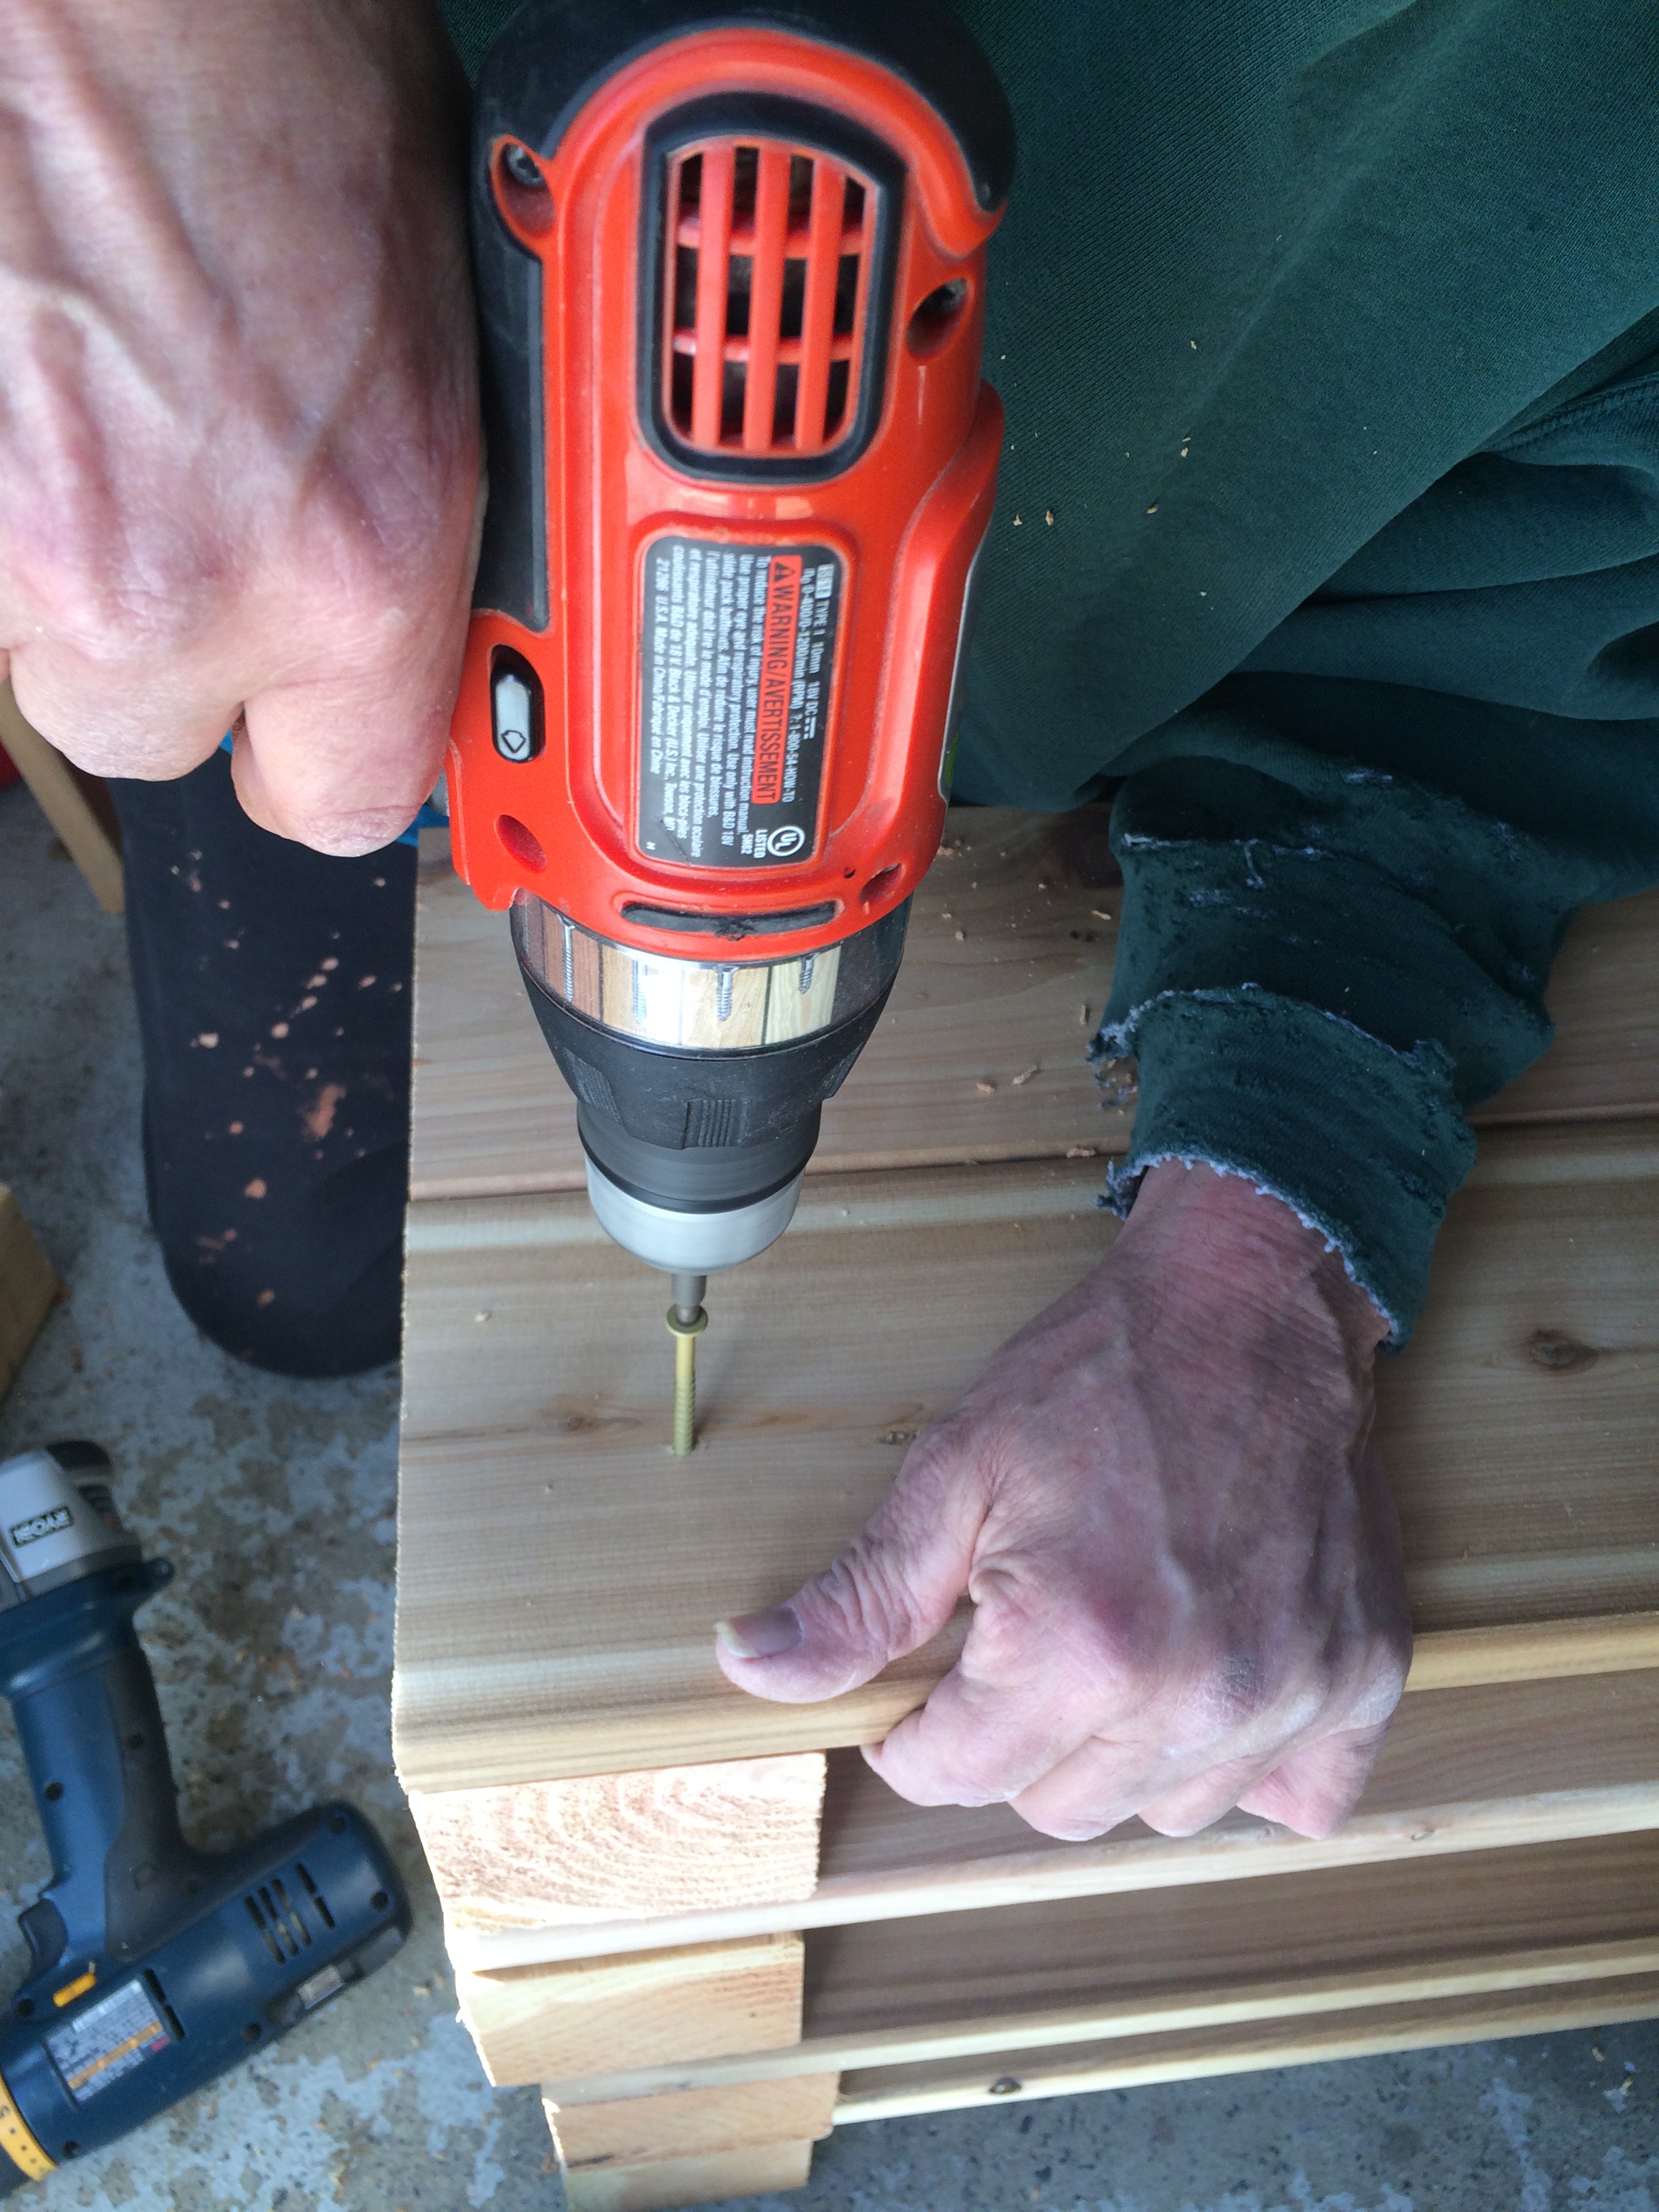
Once we had all our materials together it was time to assemble the boxes. First we connected the long ends to the 4×4 blocks we used to create the corners.
 Pre-drilling the holes for the screws made the process go quickly and easily.
 And of course Dottie was there to supervise…
 Once all the longs sides were constructed we attached the end pieces to complete the frames.
 Next we took the boxes outside to the garden area and covered the bottoms with the same weed prevention cloth we had used earlier.
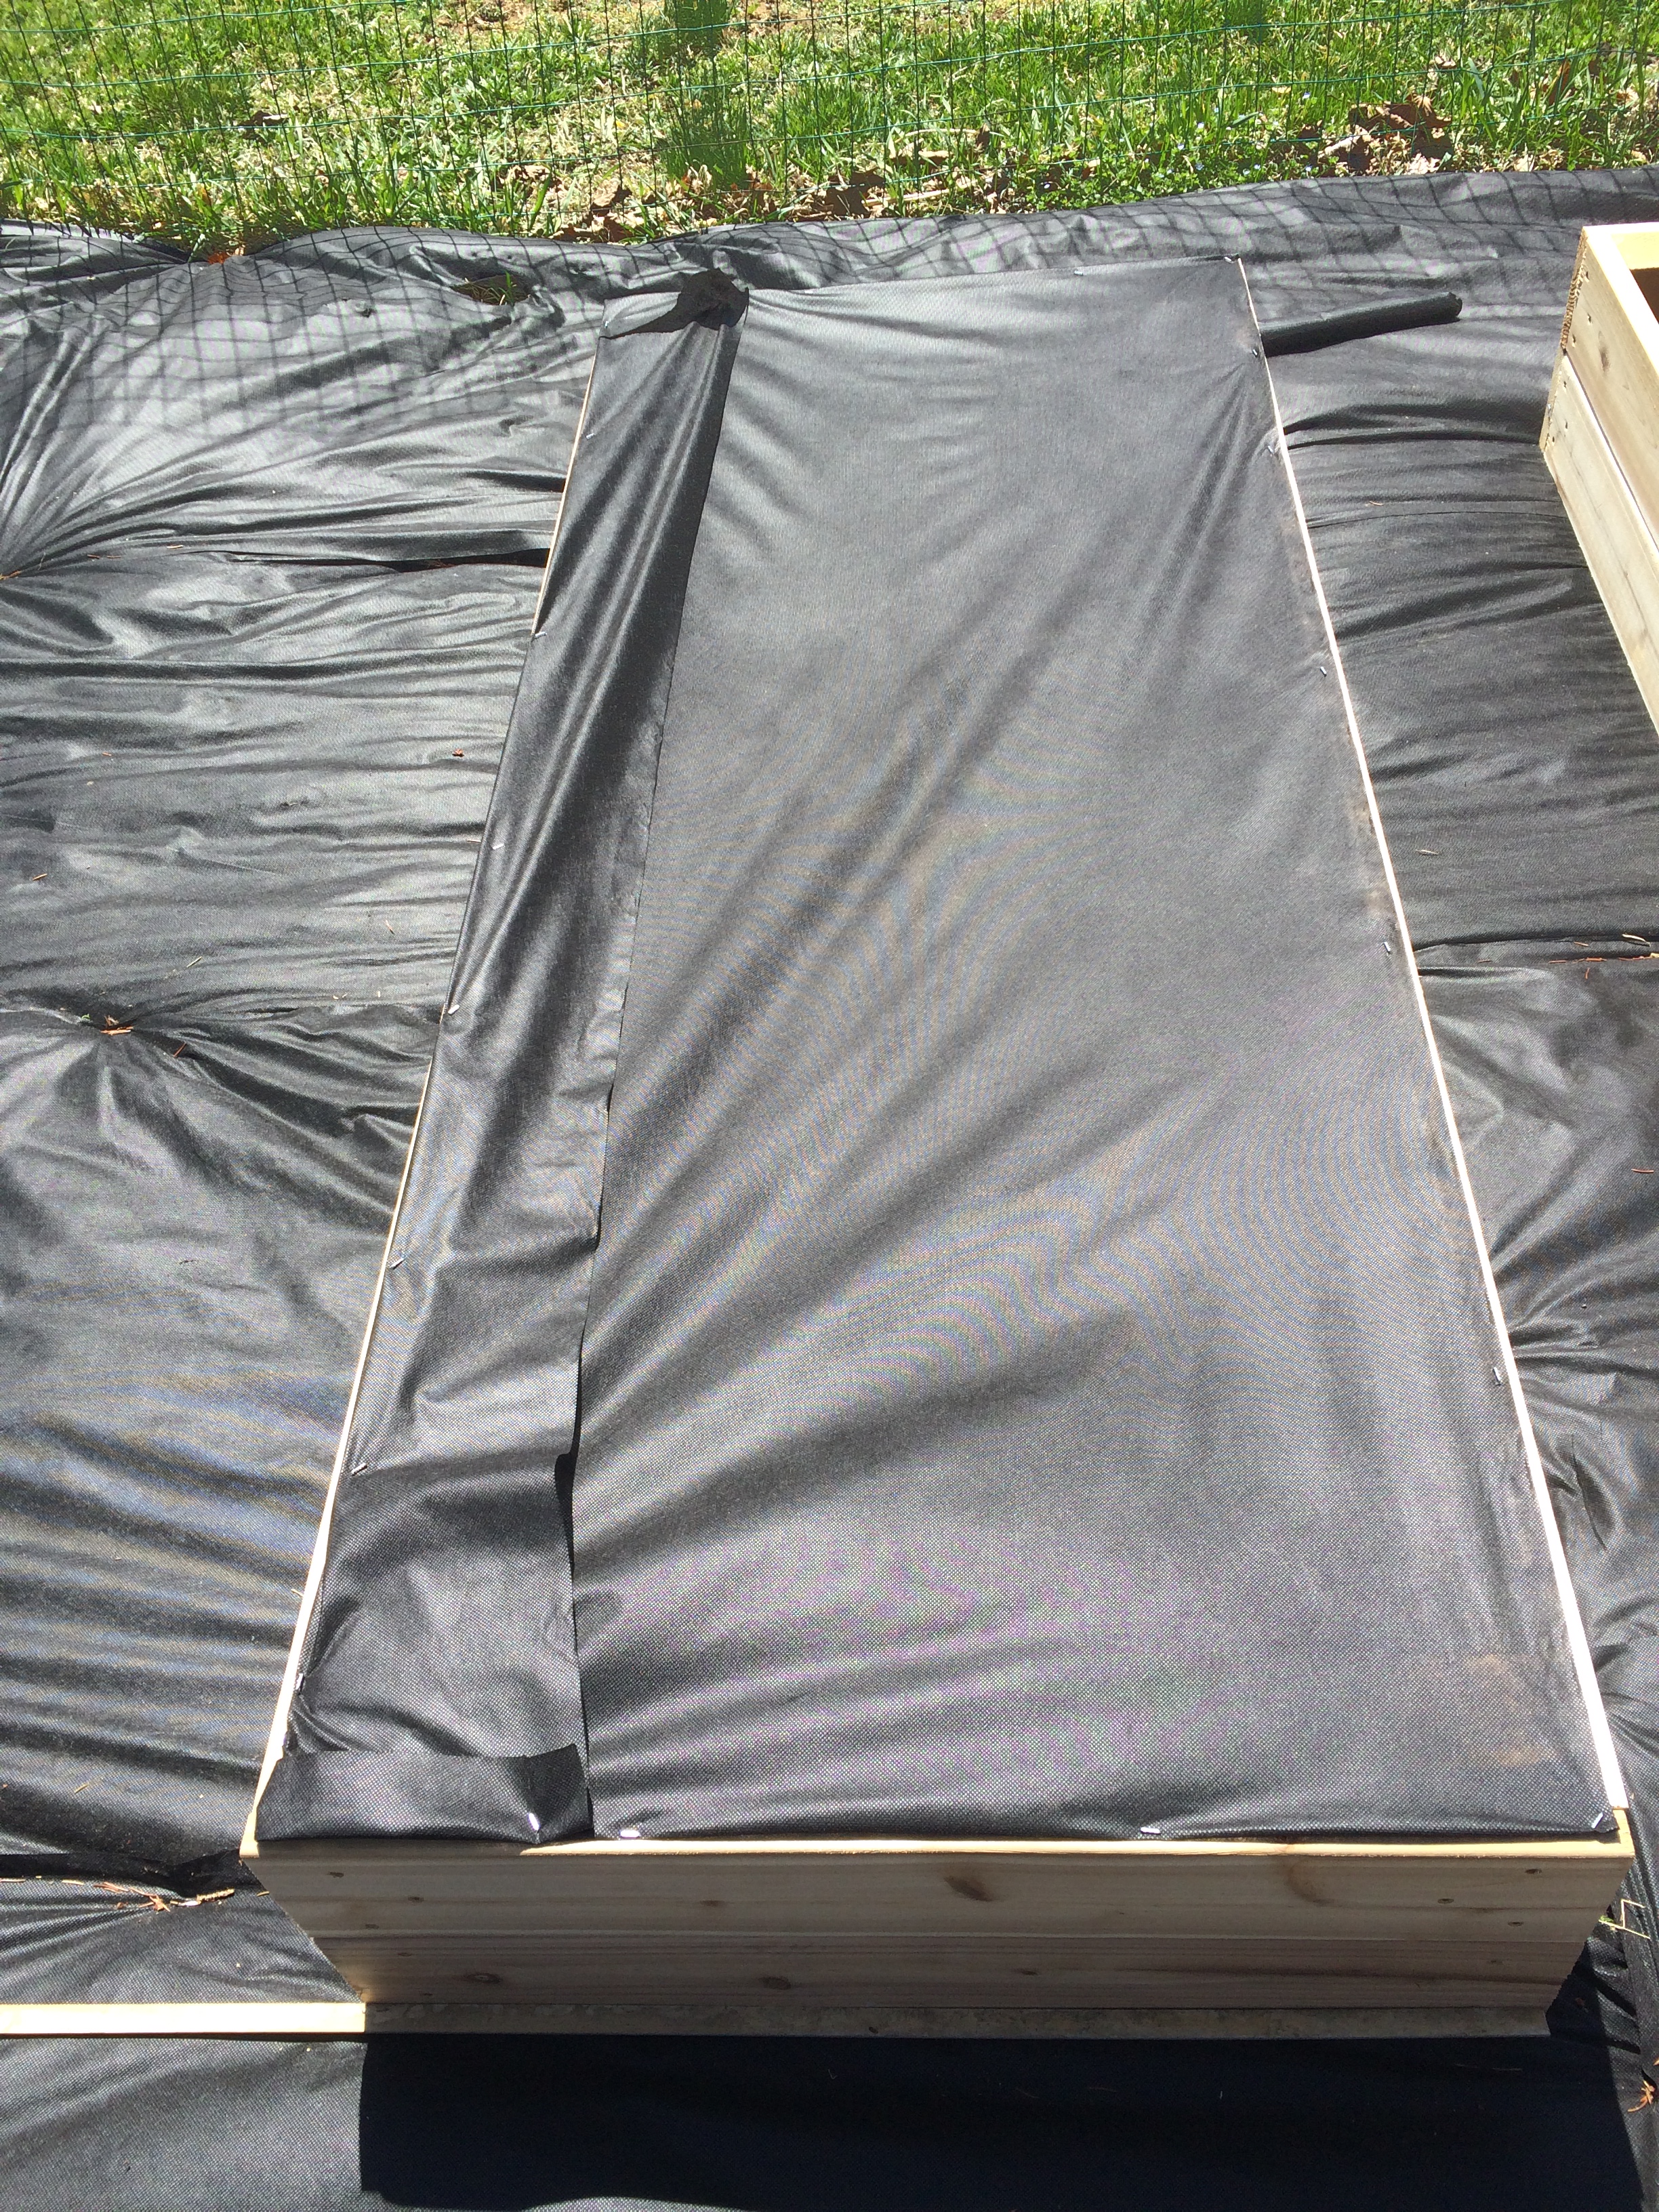 And to complete the free standing boxes we followed the recommendation in the tutorial to add a layer of wire mesh on the bottom. This prevents moles and other small animals from digging into the beds from underneath.
 Since we don’t have a big problem with that we decided to skip this step on the two larger beds we built for the front of the shed. Then it was just a matter of flipping the boxes over and placing them where we needed them to go.

Now comes the fun part of deciding what to plant! We have so much more room now than we did in previous years. I’m excited to start planning and hope to try a few new vegetables along with our staples. I hope you have fun planting your own veggie gardens if that is something you plan to do.
~ Jenna

Love these! Well done!
LikeLiked by 1 person